Are you getting the most of your Copilot for Microsoft 365 license? Let’s check! When you open desktop apps like Word, PowerPoint, or Excel, do you see the Copilot icon in the tool ribbon?

If not, follow these steps.
- You’ll need to first verify your account. Open any Microsoft App.
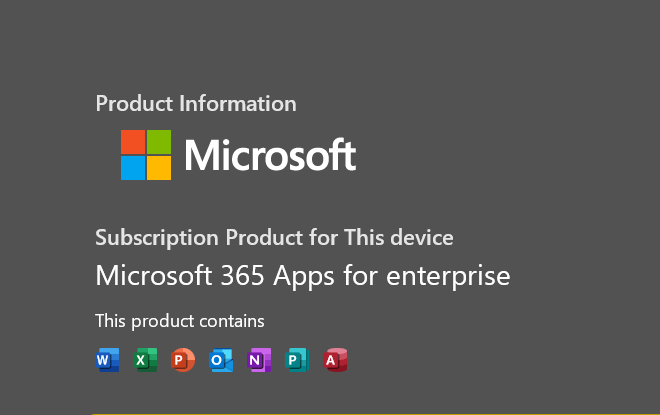
- Click File then click Account located near the bottom of the window.
- If you see “subscription product for this device”, you’ll need to change your license type. If you see “subscription product for your NetID@txstate.edu”, then you are good to go. No further action is needed.

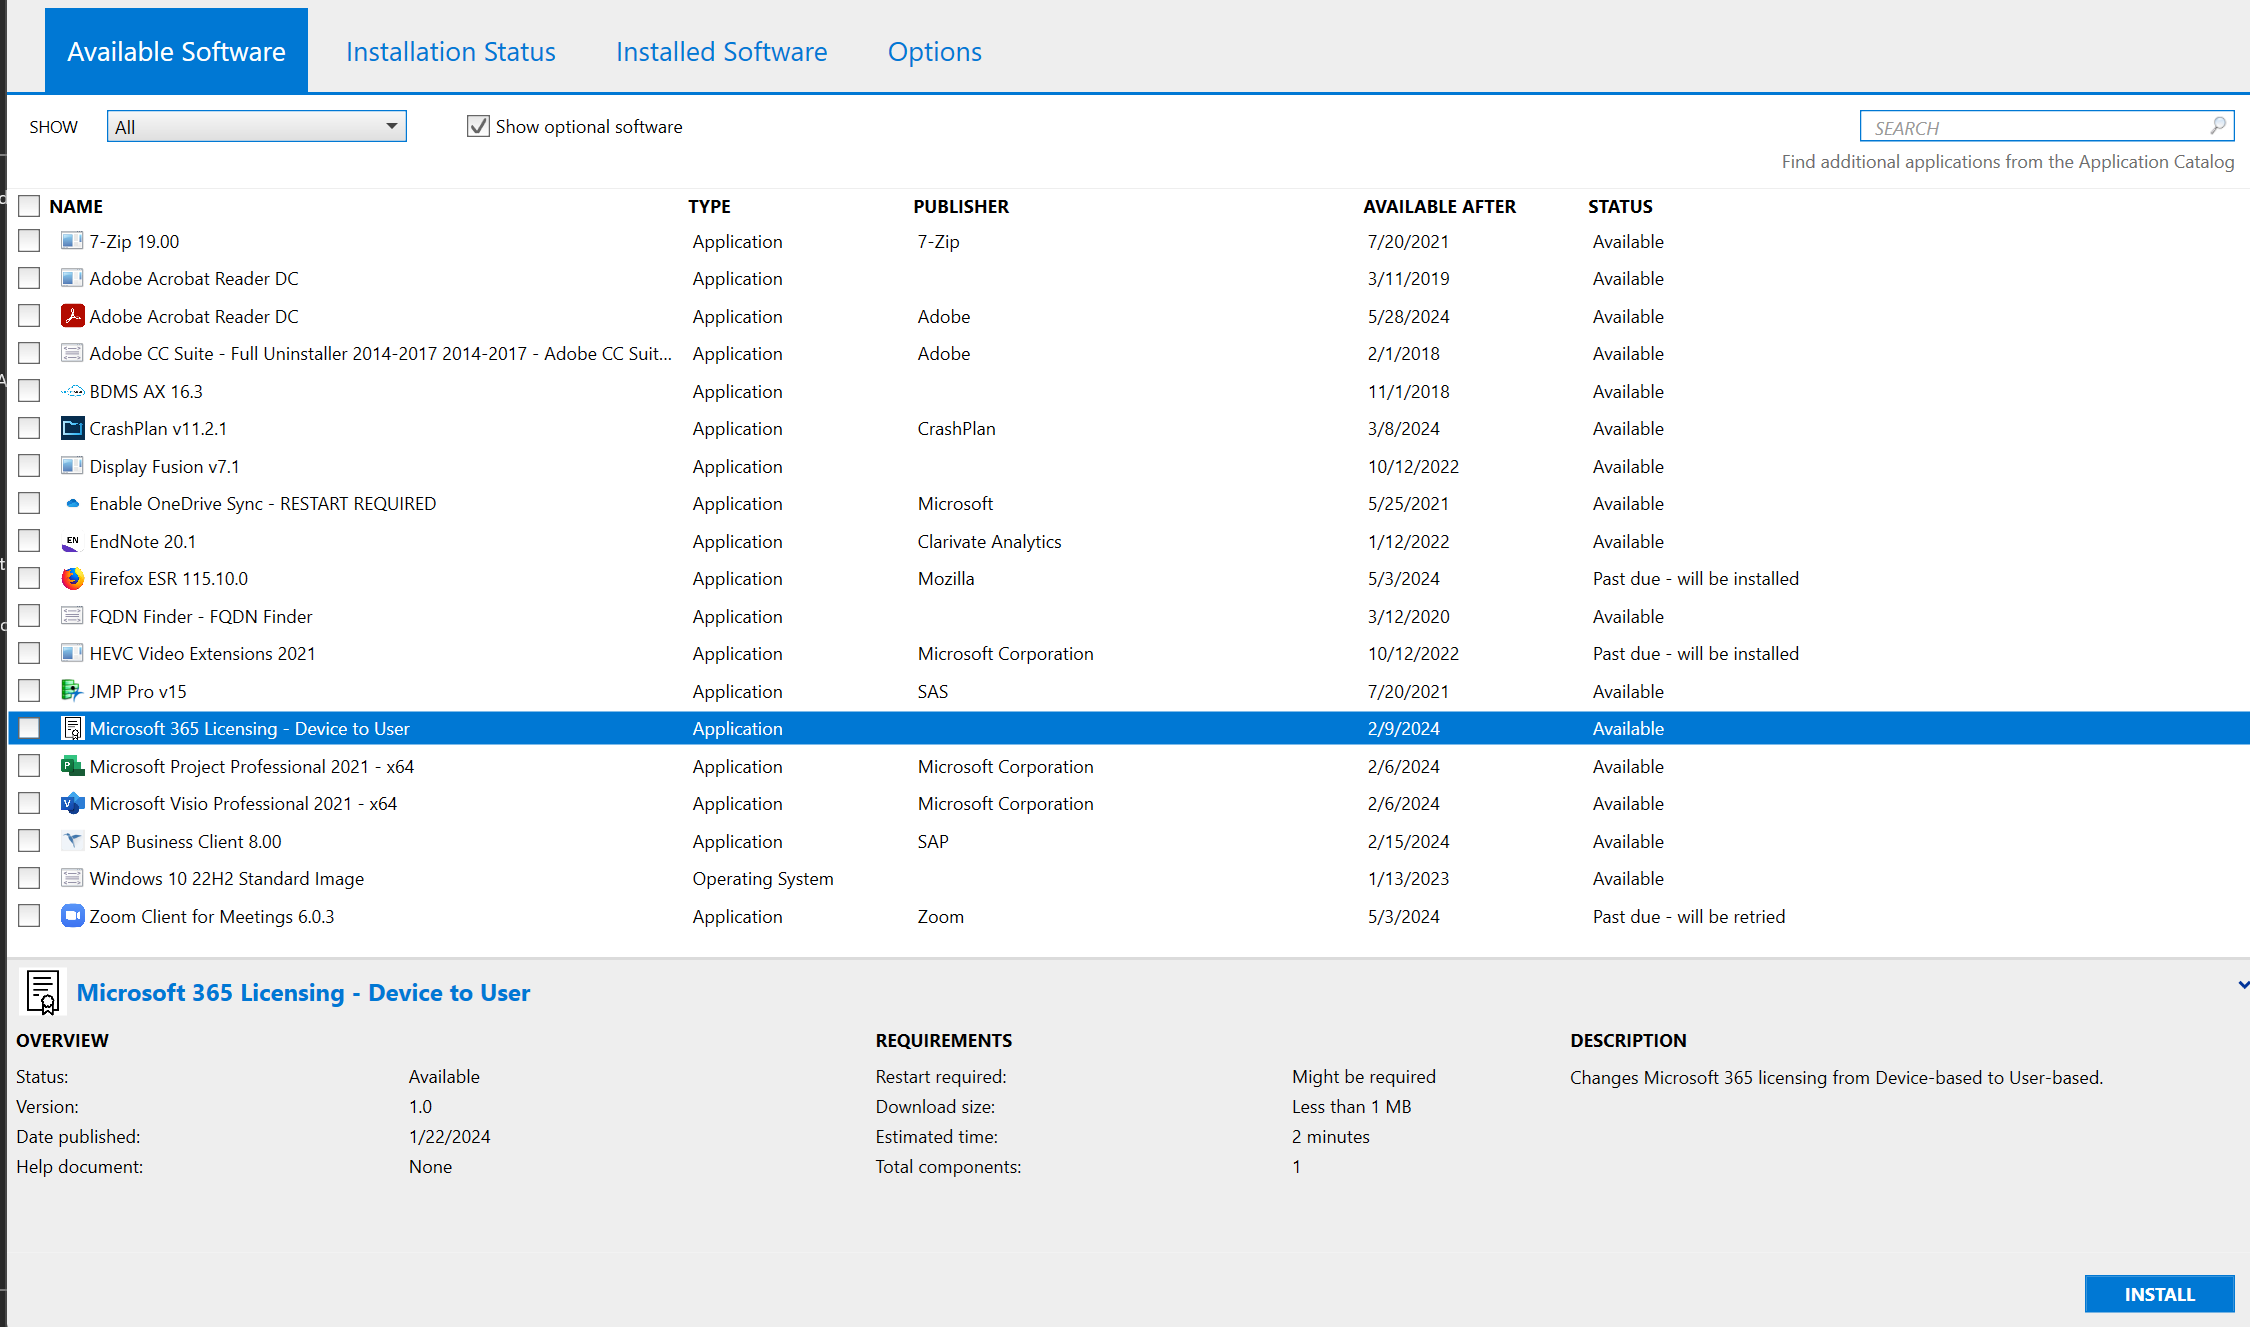
- Go to you computer's Start menu and search for Software Center.
- Once there, find the Microsoft 365 Licensing – Device to user option in the available software tab. You see, Copilot licenses are assigned to a user (you) and not devices.

- Check the box and click Install selected at the bottom of the screen. Follow the on-screen prompts to install the script. You may need to restart your computer afterwards for changes to take effect. Also please allow plenty of time for the changes to take effect in all of your Microsoft Apps.
- If you'd like, you can repeat steps 1-3 to verify your license type has been changed.
- Once you’ve successfully changed your license type, you’ll see the Copilot icon in all of your Microsoft 365 apps.